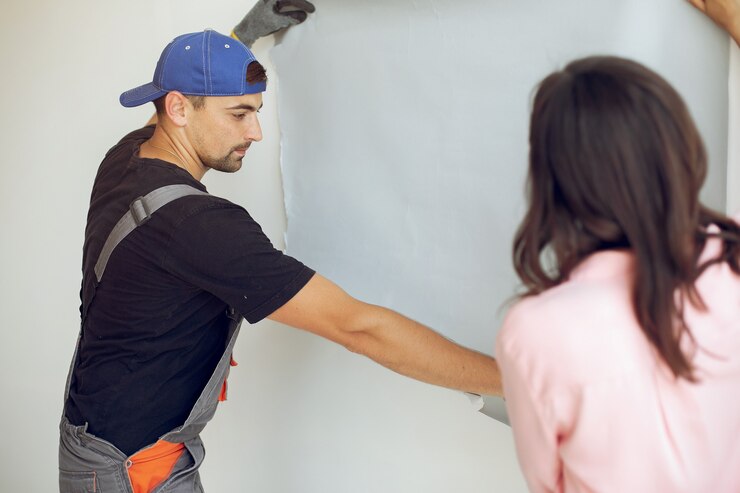
Transforming your space with beautiful new tile flooring is an exciting prospect. But before you get swept away envisioning the finished product, there’s a crucial step: preparing your existing vinyl flooring for tile installation. Preparing Vinyl Flooring for Tile Installation ensures a smooth, even surface for your new tiles, preventing future problems and creating a long-lasting, professional-looking floor.
This article will guide you through the process of preparing vinyl flooring for tile installation, taking you from assessment to a clean, level subfloor ready for your new tiles.
H2: Assessing Your Vinyl Flooring
The first step in preparing vinyl flooring for tile installation is a thorough assessment. Grab a flashlight and closely examine the vinyl for any signs of damage, such as rips, tears, loose tiles, or warping. Unevenness, soft spots, or existing adhesive residue are also red flags. If you encounter any of these issues, it’s best to remove the vinyl entirely before proceeding.
H3: When to Remove Existing Vinyl
Removing existing vinyl is necessary when:
-
The vinyl is loose, warped, or damaged.
-
The subfloor beneath the vinyl shows signs of moisture damage.
-
The vinyl is a cushioned or foam-backed type, which can create an uneven surface for tiles.
H3: When to Keep Existing Vinyl
In some cases, keeping the existing vinyl is acceptable:
-
The vinyl is in good condition, firmly adhered, and completely level.
-
The vinyl is a glued-down sheet vinyl, not loose tiles.
-
The manufacturer of your new tiles explicitly allows installation over existing vinyl.
H2: Preparing to Remove Vinyl Flooring (if necessary)
If your assessment reveals the need for vinyl removal, gather the necessary tools:
-
Utility knife with a sharp blade
-
Heat gun (optional)
-
Putty knife or scraper
-
Dust mask and safety glasses
H3: Removing Loose Vinyl Tiles
For loose vinyl tiles, simply pry them up with a putty knife or scraper. Be cautious not to damage the subfloor beneath.
H3: Removing Glued-Down Sheet Vinyl
Glued-down sheet vinyl requires a bit more effort. Here’s how:
-
Score the Vinyl: Use a utility knife to score shallow lines across the vinyl in manageable sections.
-
Apply Heat (Optional): A heat gun can help loosen the adhesive, making removal easier. However, be cautious not to overheat the vinyl, which can release harmful fumes.
-
Pry Up the Vinyl: Starting at a scored section, carefully insert your putty knife or scraper beneath the vinyl and slowly pry it upwards. Work in sections, applying heat as needed.
H3: Disposing of Removed Vinyl
Once removed, dispose of the vinyl responsibly. Check with your local waste disposal service for proper vinyl flooring disposal guidelines.
H2: Cleaning and Leveling the Subfloor
After removing the vinyl (if necessary), it’s time to clean and level the subfloor.
H3: Cleaning the Subfloor
-
Thoroughly sweep or vacuum the subfloor to remove any dust, debris, or leftover adhesive residue.
-
Use a damp mop with a solution of warm water and a mild dish soap to remove any remaining dirt or grime.
-
Allow the subfloor to dry completely before proceeding.
H3: Leveling the Subfloor
Unevenness in the subfloor can lead to cracked tiles and grout lines later. Here’s how to address any irregularities:
-
Minor Unevenness: For small dips or bumps, use a patching compound specifically designed for subfloors. Apply according to the manufacturer’s instructions and allow it to dry completely.
-
Major Unevenness: For significantly uneven areas, consider using a self-leveling compound. This is a pourable material that creates a smooth, level surface. Always follow the manufacturer’s directions for mixing, application, and drying times of any patching or leveling compounds.
H2: Additional Considerations for Preparing Vinyl Flooring for Tile Installation
-
Moisture Testing: Especially important if you suspect water damage beneath the vinyl, use a moisture meter to check the subfloor’s moisture content. Tile cannot be installed on a damp subfloor, as this can lead to mold growth and other problems.
-
Priming the Subfloor: In some cases, applying a primer specifically designed for subfloors can improve the adhesion of your new tile to the existing vinyl. Consult the manufacturer’s instructions for your chosen tile to determine if priming is recommended.
H2: Conclusion
By following these steps for preparing vinyl flooring for tile installation, you’ll create a solid foundation for your new tiles. A well-prepared subfloor ensures a smooth, even surface for your tiles, preventing future problems and creating a long-lasting, professional-looking floor. Remember, taking the time to properly prepare your vinyl flooring now will save you headaches and ensure a beautiful, trouble-free tile installation for years to come.
FAQ
Q: Can I install tile directly over any existing vinyl flooring?
A: Not always. Preparing vinyl flooring for tile installation is crucial for a successful outcome. Generally, only firmly adhered, level sheet vinyl is suitable for tiling over. Always check the manufacturer’s instructions for your chosen tile to see if installation over existing vinyl is permitted.
Q: What tools do I need to remove glued-down vinyl flooring?
A: You’ll need a utility knife with a sharp blade, a heat gun (optional), a putty knife or scraper, and safety gear like a dust mask and safety glasses.
Q: How do I dispose of removed vinyl flooring?
A: Vinyl flooring disposal guidelines can vary by location. Check with your local waste disposal service for proper disposal methods.
By following these steps and considering the FAQ, you’ll be well on your way to preparing your vinyl flooring for a successful tile installation!