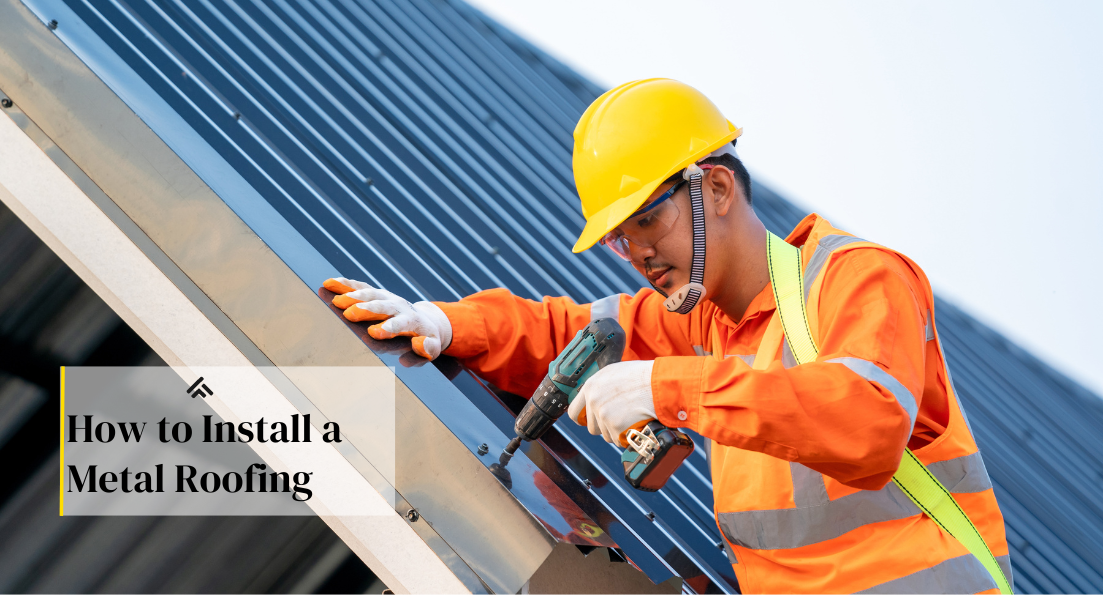
Are you considering installing metal roofing for your home or commercial building? Metal roofs have gained popularity in recent years due to their durability, longevity, and energy efficiency.
However, if you’re new to this type of roofing, the installation process can be daunting. That’s why I’ve created this comprehensive guide on how to install a metal roof with the help of Metals Estimating Services.
Whether you’re a DIY enthusiast or hiring professional contractors, our step-by-step instructions and tips will ensure a successful metal roof installation that will protect your property for years to come.
Step-by-Step Guide to Help You Install a Metal Roofing
Installing a metal roof can be a rewarding project that offers durability and energy efficiency. However, it requires careful planning and execution. Here’s a step-by-step guide to help you through the installation process.
Tools and Materials Needed
-
Metal roofing panels
-
Underlayment (synthetic is preferred)
-
Roofing nails or screws (specific to metal roofing)
-
Tape measure
-
Metal snips
-
Drill with screwdriver bits
-
Ladder or scaffolding
-
Safety equipment (gloves, goggles, harness)
Preparation
Measure Your Roof:
Start by determining how much material you need for your metal roofing project. Measure the length and width of each roof section accurately to avoid any material shortages.
Order Materials:
Once you have your measurements in hand, proceed to order your metal roofing panels, underlayment, and any other necessary materials. Ensure you order a little extra to account for any errors or unexpected needs during the installation process.
Remove Old Roofing (if necessary):
In some cases, you can install metal roofing over an existing shingle layer. However, if there are two layers of shingles or if the current roof is damaged, it’s crucial to remove the old roof before installing the new metal roof. This step ensures a proper and long-lasting installation.
Install Safety Measures:
Prioritize safety during the installation process by setting up your ladder or scaffolding securely. Additionally, use a harness to prevent falls and ensure a safe working environment throughout the project.
Installation Process
Step 1: Install Underlayment
-
To start the process, position yourself at the bottom edge of the roof. Begin by carefully unrolling the underlayment horizontally across the roof surface.
-
Once the underlayment is in place, utilize roofing nails or staples at regular intervals, approximately every few feet, to firmly secure the underlayment to the roof decking. This step is crucial for ensuring the underlayment remains in position during various weather conditions.
-
As you progress with laying the underlayment, remember to overlap each new row with the previous one by at least 6 inches. This overlapping technique helps create a protective barrier that prevents water from seeping through the roof and causing damage.
Step 2: Install Metal Panels
-
It’s crucial to kick off the panel installation process from the edge of the roof. This initial step sets the foundation for alignment throughout. Ensure precise placement of the first panel to maintain a square position with the edge, guaranteeing that all subsequent panels fall into perfect alignment effortlessly.
-
Utilize screws or nails specifically designed for your roofing material. Secure the fasteners into the raised ridges of the metal roofing panels to create a watertight seal, preventing any water infiltration. Always adhere to the spacing recommendations provided by the manufacturer to ensure optimal performance and longevity.
-
Most metal roofing panels are engineered with overlapping features. It is imperative to maintain a consistent overlap by the manufacturer’s guidelines, typically around one corrugation. This ensures structural integrity and weather resistance, safeguarding your roof against the elements effectively.
-
Employ metal snips to trim the panels to the required size when necessary, especially around vents, chimneys, or roof edges. Precision trimming is key to achieving a professional finish and ensuring a seamless integration of the metal roofing system into your roof’s architecture.
Step 3: Install Flashing and Trim
-
To safeguard against water ingress, it is crucial to install flashing along the edges and at the ridge. The flashing should be positioned to overlap the panels and securely fastened using roofing screws for added durability and weather resistance.
-
Specialized flashing should be carefully installed around protrusions like vents, chimneys, and skylights to establish a watertight seal, ensuring long-term protection and structural integrity.
Finishing Touches
Check all screws and nails meticulously to ensure they are securely tightened and not causing dimples or punctures in the metal panels. It is crucial to inspect the entire roof, ensuring all flashing is correctly installed without any gaps that could potentially allow water to seep through. This comprehensive examination will help maintain the structural integrity and longevity of your roof. er.
Installing a metal roof is a significant undertaking that can greatly benefit your home. With careful planning and attention to detail, you can complete this project. However, don’t hesitate to consult with or hire a professional if the job seems beyond your capabilities.
To read more articles visit BlogTraffic
Conclusion
Installing metal roofing is a highly cost-effective and durable option for your home. By following the step-by-step process outlined in this post, you can ensure a successful installation that will not only save you money in the long run but also enhance the curb appeal of your home. With its numerous benefits such as energy efficiency, longevity, and versatility, metal roofing has become increasingly popular among homeowners. With all the information and tips provided here, it’s clear that anyone with basic DIY skills can successfully install their metal roof. So why wait? Start planning your metal roofing project today and give your home the upgrade it deserves.

